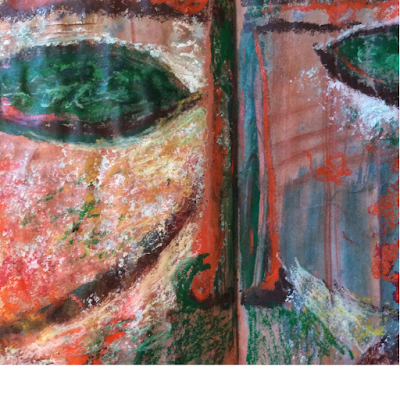
My face at last! Just in time for Summer School …

My face/mask is finally there! It is rather difficult to take photos from it and I have tried my best.
The final mask is slightly different from my paper mock-up – it includes four levels instead of three – but all in all I have followed this mock-up rather faithfully. The mask is made up of 7 parts showing 4 different fabric textures.
The background is a 2 mm acrylic sheet cut to measure. I chose acrylic since I wanted to see the different parts of the mask floating. Overall size, including the empty areas, is approximately 30 x 45 cms.

Parts 5, 6 and 7 are on the background level and glued directly onto the acrylic sheet.
Level one is 2 cm high (part 1), level two is 3 cm high (part 4) and level three is 4 cm high (parts 2 and 3).
On the back of the acrylic sheet I glued square acrylic feet to create a distance between the face and its supporting surface which may be a wall, a table or a window pane for example.
In this first photo I placed my mask on a marble floor.

In this picture the face was fixed to a frosty window pane which allows the passing of light from behind.

This is the mask seen from the back.

Here follow pictures from details, the first shown on a dark wooden surface, the other three against a window.


Tomorrow the technical information, evaluation and records.
The final mask is slightly different from my paper mock-up – it includes four levels instead of three – but all in all I have followed this mock-up rather faithfully. The mask is made up of 7 parts showing 4 different fabric textures.
The background is a 2 mm acrylic sheet cut to measure. I chose acrylic since I wanted to see the different parts of the mask floating. Overall size, including the empty areas, is approximately 30 x 45 cms.

Parts 5, 6 and 7 are on the background level and glued directly onto the acrylic sheet.
Level one is 2 cm high (part 1), level two is 3 cm high (part 4) and level three is 4 cm high (parts 2 and 3).
On the back of the acrylic sheet I glued square acrylic feet to create a distance between the face and its supporting surface which may be a wall, a table or a window pane for example.
In this first photo I placed my mask on a marble floor.

In this picture the face was fixed to a frosty window pane which allows the passing of light from behind.

This is the mask seen from the back.

Here follow pictures from details, the first shown on a dark wooden surface, the other three against a window.


Tomorrow the technical information, evaluation and records.


Love the effect of light behind it.Well done for finishing!
ReplyDeleteOh wow - Are you bringing it to summer school?
ReplyDeleteYes! I think so! It will be the only thing though. See you very soon
Deletecongratulations Daniela, it looks terrific.
ReplyDeleteLooking forward to seeing the finished article. You've done so well meeting your deadline.
ReplyDeleteIt's lovely Daniela. The effect against the light is stunning. Look forward to seeing it (and you) at the weekend!
ReplyDeleteBeautiful and so imaginative Daniela. I love all the different textures in the different layers. Well done. Enjoy summer school.
ReplyDeleteWhat a great piece, such lovely textures and a very innovative idea, love the way the light shines though it
ReplyDelete